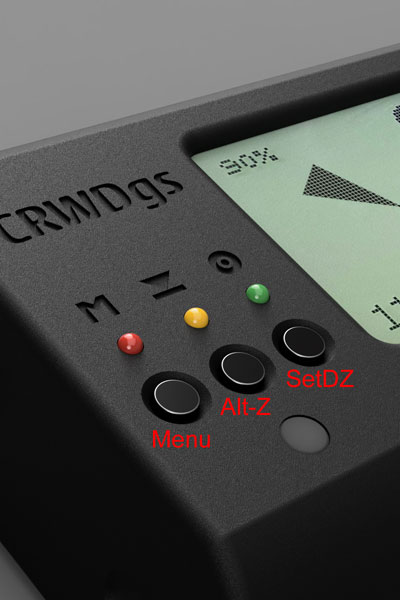
BUTTONS: Menu, Alt, DZ
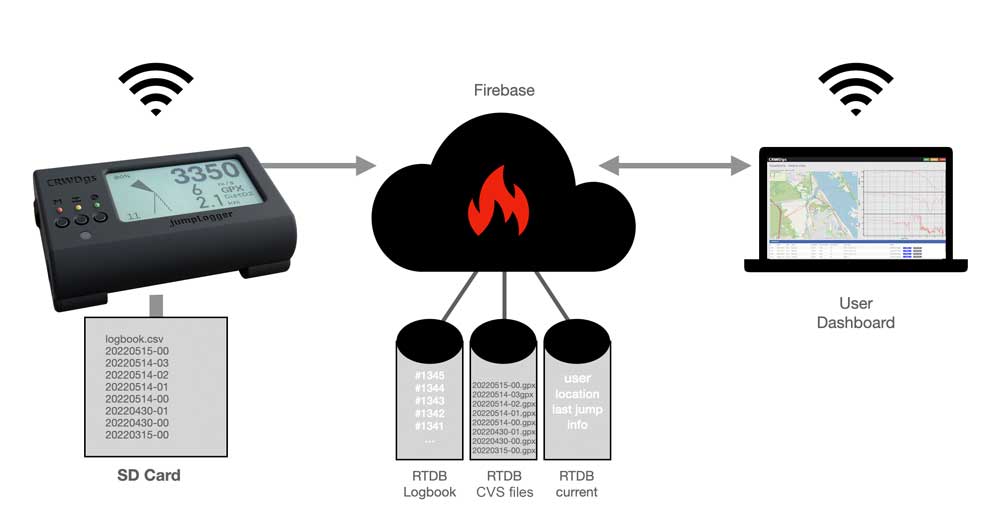
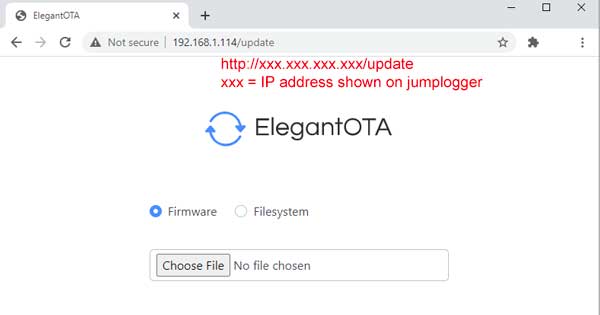
Press and hold the MENU button to change operating mode form ALTI-LOGGER to WIFI transfer
Press and hold the AltZ button to reset altitude to zero.
Press and hold the setDZ button to set your target for navigation to home.
Buttons work only if below 50m/160ft
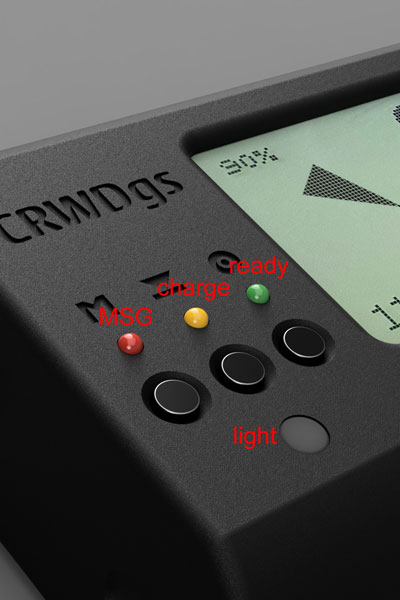
Info LEDs, Light sensor
the blinking red LED (MSG) signals a valid GPS fix and a working device.
Yellow LED signals the charging of battery via USB-C port. When charging is done, the green LED lights. During normal operation, yellow and green never show up. The light sensor switches backlight on in dim conditions. Its checked only once a minute.
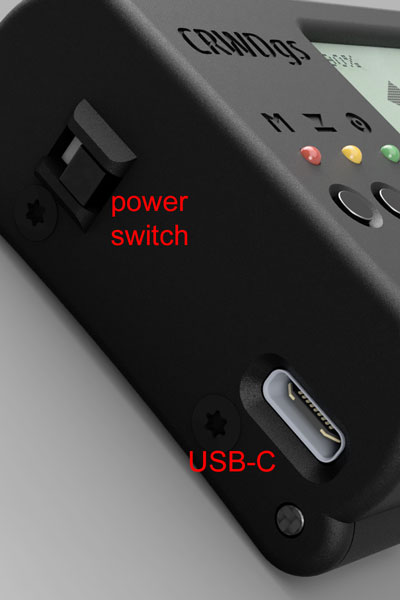
Power switch, USB-C
On the left side there is a mechanical power switch.
Slide it down to switch the device on.
The red LED lights up and the jumpLgger boots into altimeter mode.
The USB-C port is used only for charging the device.
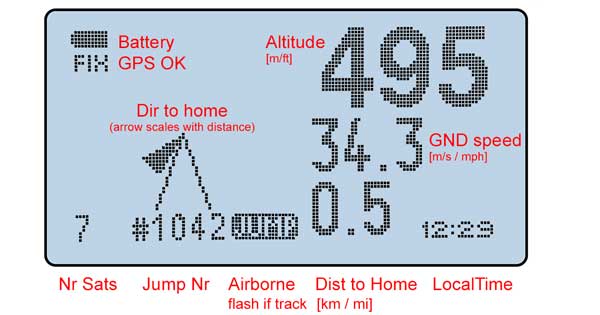
Altimeter screen, normal
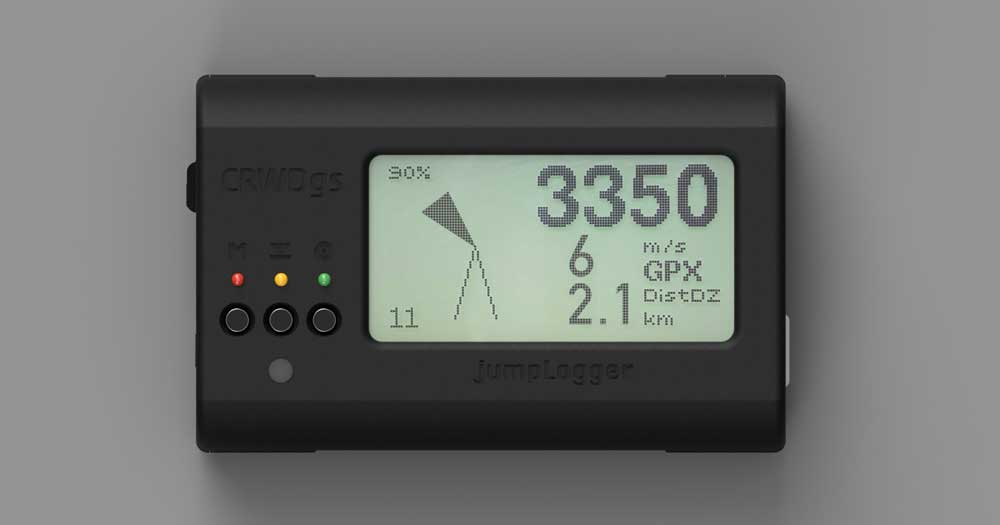
All functions of the display are shown in the picture above. The jumplogger receives config data from the dashboard app: please update your name, current jump number, unit system (metric/imperial) and trigger points for display change / track autostart here.
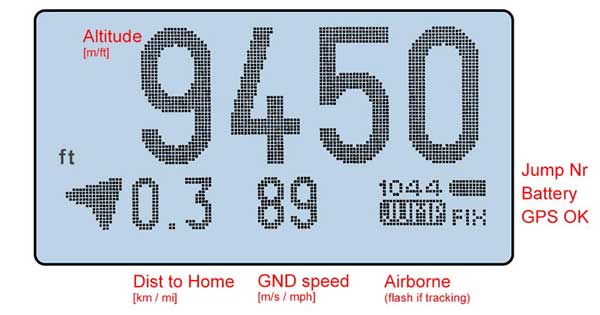
Altimeter screen, ALT focus
The BIG display shows basically the same data as the normal screen, but with focus on current altitude. Direction arrow is on the right side and limited to 45º steps. Always remember that the display upright needs to show into flight direction. All logging functionality remains the same.
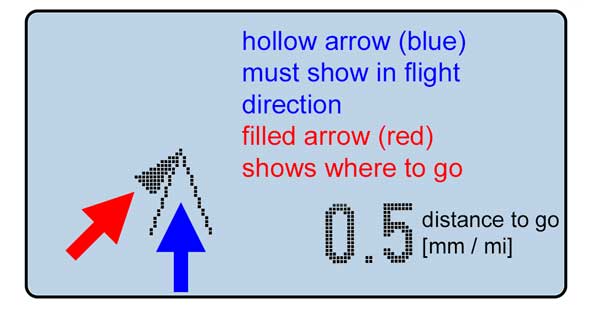
navigate home
it is important to read the direction display correctly. Keep the device showing into yout flight direction. A good idea is to have it on your chest strap. If the hollow arrow (blue) shows into your flight direction, the black arrow (red) hints you where to go. The distance is shown in km oder miles.


